The Architecture of a Perfect Shake: How to Layer Flavors That Actually Stay Put
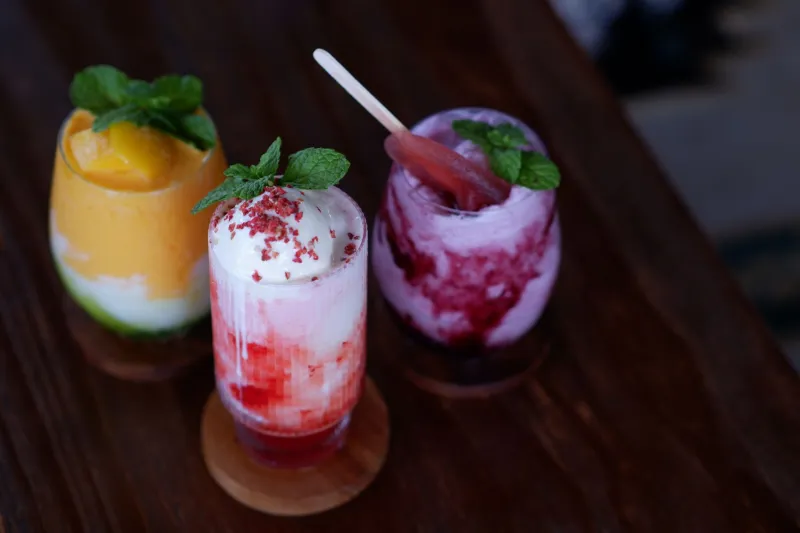
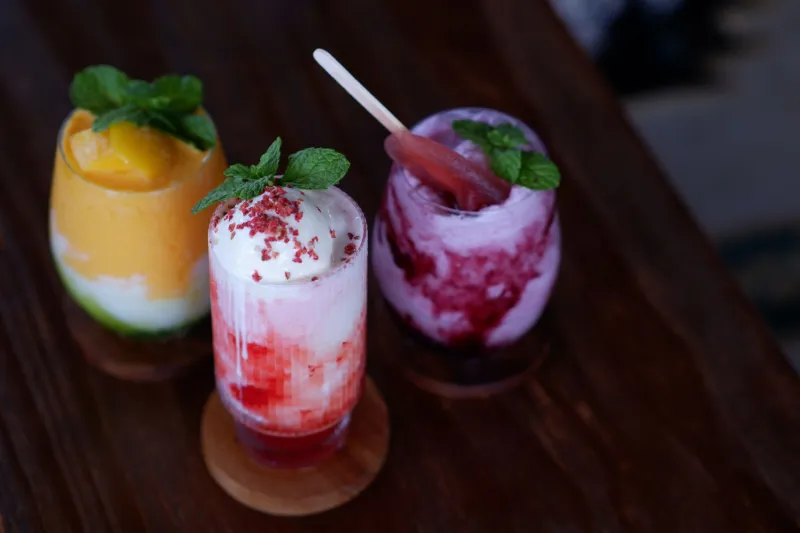
You've seen them on social media — those jaw-dropping milkshakes with perfect ribbons of caramel weaving through chocolate, or a bold strawberry swirl cutting cleanly through vanilla cream. They look like edible art. Then you try to recreate one at home, and by the time you've snapped your photo and taken three sips, the whole thing has devolved into a murky, separated puddle that tastes vaguely of regret.
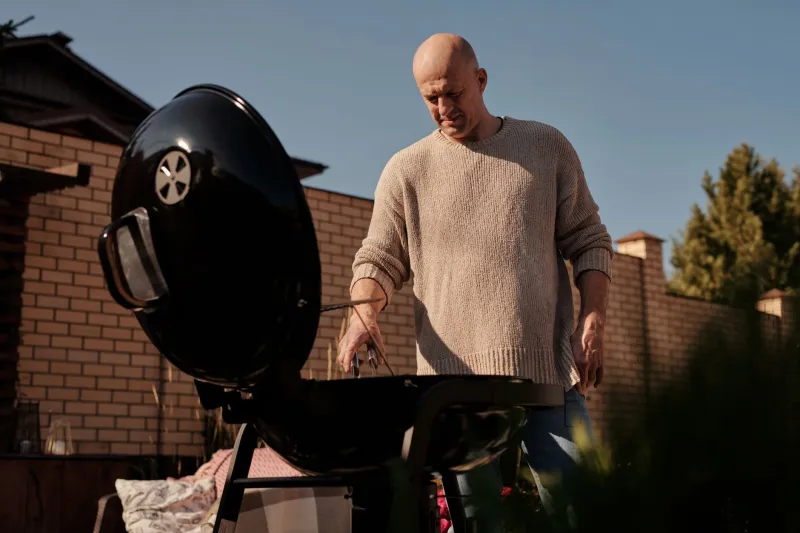
Here at Grill 'N Shake, we believe a great cookout deserves a great shake — one that holds up while your burgers are still sizzling and your guests are still talking. So let's get into the actual mechanics of why layered shakes fail, and more importantly, how to build one that doesn't.
Why Milkshakes Separate in the First Place
Before you can fix the problem, you need to understand it. A milkshake is essentially a suspension — fat globules from ice cream and cream dispersed through a liquid base. When you introduce multiple flavors or sauces, you're stacking different densities, viscosities, and temperatures on top of each other. Without the right approach, gravity and molecular instability do their thing fast.
The main culprits behind separation are:
- Density mismatches — heavier liquids sink through lighter ones unless they're properly anchored
- Temperature differentials — warmer additions melt the surrounding ice cream faster, breaking the suspension
- Insufficient emulsification — without something to hold fat and water molecules together, they drift apart
- Over-blending — too much air incorporation creates a foam-heavy shake that collapses quickly
Craft shake shops obsess over these variables. You should too — especially when you've got a full backyard cookout going and you want your shakes to survive the gap between blending and drinking.
Density Sequencing: The Foundation of a Stable Layered Shake
Think of your milkshake like a well-built cookout spread. You don't throw everything on the grill at once — you sequence it. Same logic applies here.
Density sequencing means you build your shake from heaviest to lightest, allowing each layer to sit on a stable foundation rather than sinking through something thinner beneath it. As a general rule:
- Bottom layer — your densest element. Thick fruit purees, peanut butter blends, or ganache-style chocolate sauces work great here.
- Middle layer — your primary shake base, blended to a medium-thick consistency.
- Top layer — lighter, airier additions like whipped cream, a thin drizzle of flavored syrup, or a fruit coulis.
The key is chilling each component before assembly. Warm sauces will melt straight through your ice cream base. Get everything cold — ideally below 40°F — before you start building.
The Emulsifier Trick the Pros Actually Use
Here's something most home shake-makers don't know: a small amount of emulsifier dramatically extends how long a layered shake stays intact. Emulsifiers are molecules that bond with both fat and water, keeping them from separating.
You don't need a chemistry lab. These ingredients are already sitting in your kitchen:
- Egg yolk — a classic emulsifier, used in custard-style ice cream bases. Adding a lightly cooked yolk to a homemade shake base creates a noticeably more stable texture.
- Cream cheese — a small spoonful blended into your base thickens it and helps bind fat molecules together.
- Instant pudding mix — sounds gimmicky, but a tablespoon of vanilla or chocolate pudding mix adds both body and emulsifying starch that helps the shake hold its shape longer.
- Lecithin — available at most health food stores and online, this soy-derived emulsifier is what commercial shake shops often use. A tiny pinch goes a long way.
For a cookout setting where shakes might sit for a few minutes before being handed off, the cream cheese trick is our go-to. It adds a subtle richness that pairs beautifully with smoky grilled flavors, and it keeps the texture from going watery even as the ice cream slowly softens.
Temperature Timing: When You Build Matters as Much as How
Timing is everything at a cookout — you know this from managing a grill. The same principle applies to shake assembly.
The biggest mistake people make is building layered shakes too far in advance. Even a perfectly constructed shake will start losing definition after about 8–10 minutes at room temperature. In the middle of a summer backyard party, that window shrinks fast.
Here's a practical system that works in a real cookout environment:
- Prep your components ahead of time — blend your base shakes and refrigerate them (not freeze) in sealed containers up to two hours before guests arrive. This keeps them thick without fully freezing.
- Chill your glasses — stick them in the freezer for at least 20 minutes before assembly. A cold glass slows the melt rate significantly.
- Layer right before serving — do your swirling and layering at the last possible moment, ideally right as someone's heading to the table.
- Use a squeeze bottle for sauces — it gives you precision control over where each sauce lands, reducing the chance of accidental mixing during assembly.
Building the Swirl: Technique Over Talent
A swirled milkshake looks complicated, but the actual technique is straightforward once you understand what you're doing. The goal is to introduce a secondary element in a way that creates visual contrast without fully incorporating into the base.
For a caramel-chocolate swirl, for example:
- Pour your base shake into the glass, filling it about two-thirds of the way.
- Using a squeeze bottle, apply your swirl sauce in a slow spiral against the inside wall of the glass as you rotate it.
- Use a thin skewer or chopstick to lightly drag through the sauce in a gentle S-pattern — this feathers the edges without blending the layers together.
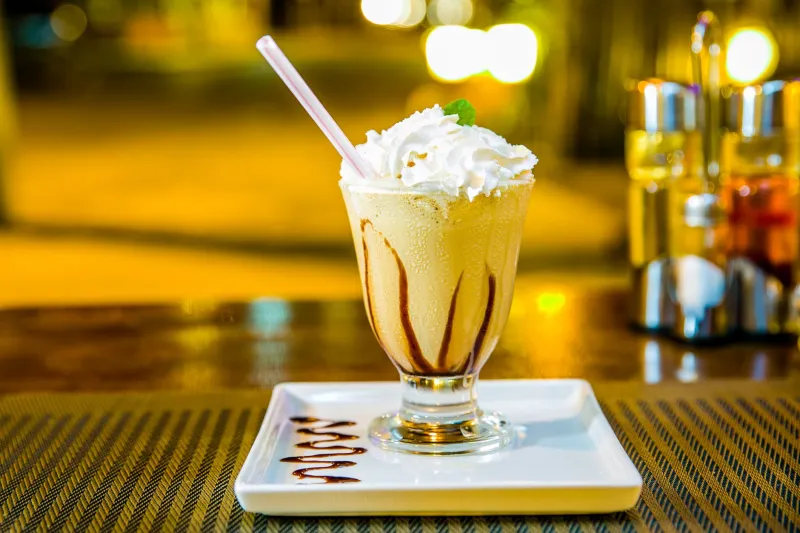
- Top with whipped cream and a final light drizzle on the surface.
The wall application is critical. Sauce applied against the glass has more surface area to grip, which slows its descent through the shake base.
Flavor Pairings That Work With Your Grill
At Grill 'N Shake, we're always thinking about how your shake complements what's coming off the grill. Layered shakes are actually a great opportunity to mirror or contrast the flavors you're cooking with.
Some combinations worth trying:
- Smoky BBQ ribs + a brown butter caramel and vanilla bean swirl shake — the caramel echoes the sweetness of the BBQ sauce while the vanilla cools the heat
- Spicy grilled chicken + a mango-lime layered shake — the bright citrus cuts through the heat beautifully
- Classic cheeseburger + a chocolate-peanut butter swirl shake — a crowd-pleasing pairing that never fails
- Grilled peaches + a peach-cream and honey swirl shake — lean into the fruit and let the grill do double duty
The Payoff
A layered milkshake that actually holds its structure isn't just prettier — it's a fundamentally better drinking experience. Each sip delivers a different ratio of flavors, keeping things interesting from top to bottom. And when you've put real thought into your grill lineup, a shake built with the same care is the finishing touch that turns a backyard cookout into something people talk about.
So next time you fire up the grill, give your shake game the same attention you'd give your char and your timing. The result is worth every extra minute of prep.