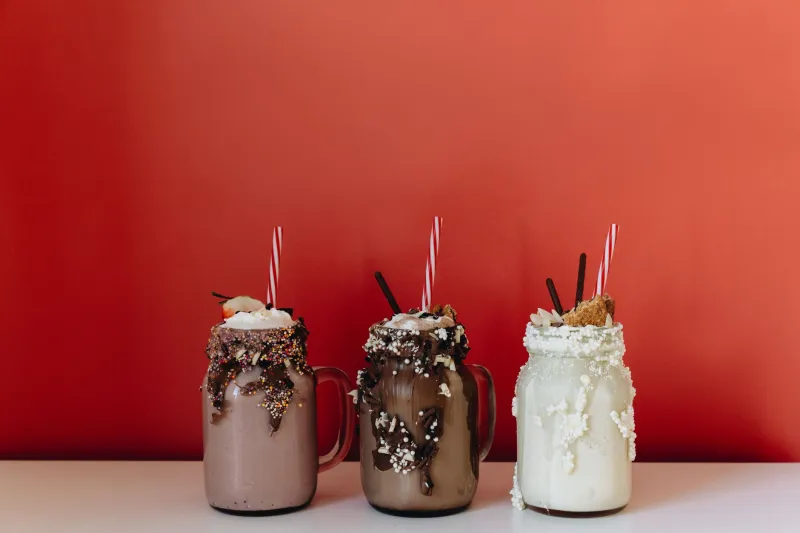
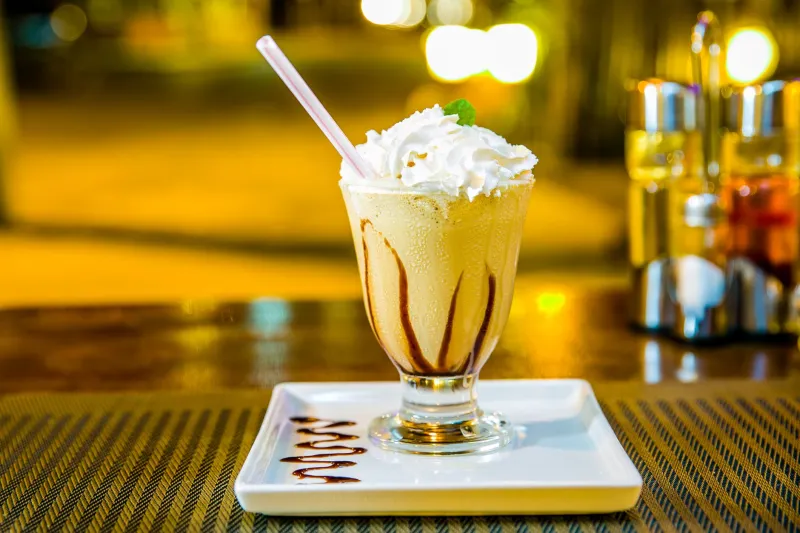
The Cold Truth: What's Really Happening Inside Your Blender When You Make a Milkshake
Here at Grill 'N Shake, we talk a lot about the fire half of the equation — the sear, the smoke, the char. But the chill side? That deserves just as much respect. Because here's the thing: a truly great milkshake isn't just frozen dairy in a cup. It's a carefully balanced collision of physics, chemistry, and timing. And once you understand what's actually going on at the molecular level, you'll never look at a blender the same way again.
Let's break it down.
Fat Is the Foundation — Literally
If you've ever wondered why a shake made with premium ice cream tastes so much richer than one made with a budget brand, fat content is your answer. Ice cream is classified by its butterfat percentage, and that number matters enormously when you're blending for texture and flavor.
Standard grocery store ice cream often sits around 10% butterfat — the legal minimum in the US to even call it ice cream. Premium brands push that closer to 14–16%. Super-premium options like some artisan scoops can hit 18% or higher. Why does this matter? Fat molecules coat your tongue and slow the release of flavor compounds, which means more butterfat equals a longer, richer taste experience. It's not just about creaminess — it's about how long the flavor lingers.
Fat also acts as an emulsifier, helping bind water and air into a stable, unified mixture. When you start with a low-fat base, you're working uphill before the blender even kicks on.
The Air You Never See Is the Texture You Always Feel
Here's something most people don't think about: ice cream already contains a significant amount of air before it hits your blender. That air, whipped in during the churning process, is called overrun. Budget ice creams can be up to 100% overrun — meaning half of what's in the container is literally air. Premium ice creams run much lower, sometimes 20–25%.
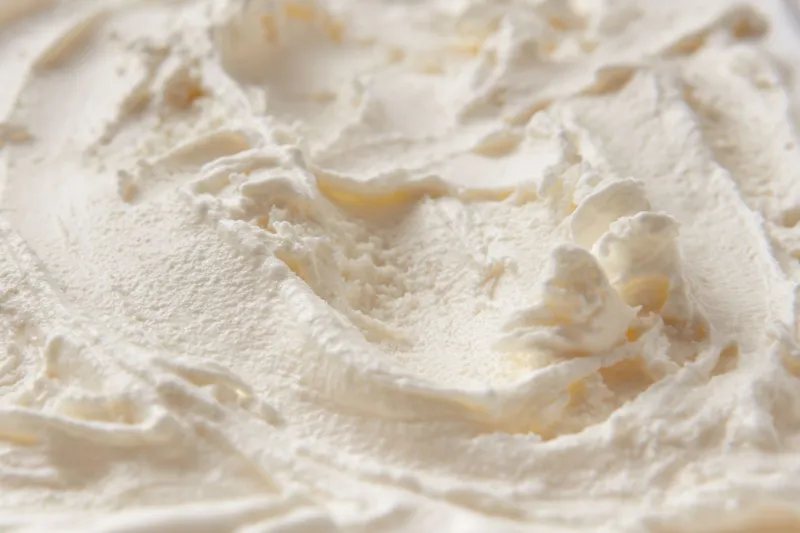
When you blend ice cream into a shake, you're not just melting it — you're redistributing that air. The blending process breaks down ice crystals and incorporates additional air bubbles into the mixture. The result is a foam-like matrix that gives a great shake its fluffy, thick body.
The catch? Over-blending destroys this. Blend too long and you collapse those air bubbles, leaving you with a flat, dense, almost watery drink. The sweet spot is blending just enough to combine everything — usually 20 to 45 seconds depending on your blender's power and the temperature of your ingredients.
Temperature Is the Variable Nobody Respects Enough
This is where most home shake-makers lose the game before it starts. Temperature affects everything: how fast ice crystals melt, how efficiently fat emulsifies, how well air incorporates, and ultimately how long your shake holds its structure before turning into a sad puddle.
The ideal blending temperature for ice cream is right around 6–10°F. At that range, the ice cream is firm enough to resist immediate melting but soft enough to blend smoothly without seizing up your motor. Pull ice cream straight from a deep-freeze running at 0°F and you'll get chunks that don't blend evenly. Let it sit on the counter for 20 minutes and it'll be too soft, collapsing into liquid before you can even get the lid on.
Pro move: let your ice cream temper in the fridge — not on the counter — for about 10 to 15 minutes before blending. The fridge runs around 35–38°F, which brings the ice cream up gradually without warming it unevenly.
Your milk temperature matters too. Cold milk (straight from the fridge at 38°F) keeps the overall mixture colder longer and slows the melting process during blending. Room temperature milk is a shortcut that costs you texture.
The Freezing Point Depression Nobody Talks About
Here's a fun one from chemistry class that actually applies to your shake game. When you add sugar to water, you lower its freezing point — a phenomenon called freezing point depression. Ice cream manufacturers use this principle deliberately when formulating recipes. The sugars in ice cream prevent it from freezing into a solid brick, keeping it scoopable at freezer temperatures.
When you start adding mix-ins to your shake — syrups, sweetened peanut butter, caramel sauce, flavored powders — you're further lowering the freezing point of the mixture. This can make your shake feel thinner than expected, even if you didn't add extra liquid. The solution isn't always more ice cream; sometimes it's adjusting the ratio of mix-ins or choosing lower-sugar add-ins to keep the mixture's freezing dynamics stable.
This is also why adding a small pinch of salt to a shake isn't crazy. Salt lowers the freezing point even further but also amplifies sweetness perception — you get a richer-tasting shake without adding more sugar.
Ratios: The Framework That Makes or Breaks Everything
Professional shake recipes aren't random. They're built on tested ratios, and the most reliable starting point for a thick, well-structured shake is roughly 3 parts ice cream to 1 part liquid by volume. That's it. Three scoops (about 1.5 cups) to half a cup of whole milk.
From that foundation, every variable you introduce — mix-ins, flavored syrups, fresh fruit, nut butters — should be balanced against the liquid content it introduces. Fresh fruit is high in water. Syrups are liquid by nature. Nut butters add fat and thickness. Each addition shifts the ratio, and understanding which direction it shifts gives you control instead of guesswork.
Whole milk is the standard, but heavy cream (used sparingly, maybe a tablespoon or two) can add body without significantly increasing volume. Avoid skim or 2% if you can — the reduced fat content works against everything we just talked about.
Timing Is a Competitive Advantage
A milkshake begins degrading the moment blending stops. The clock is real. Ice crystals start forming again as temperature drops, air bubbles begin collapsing, and emulsification slowly reverses. Ideally, you're drinking within three to five minutes of blending — which means having your glasses chilled, your toppings ready, and your people seated before you hit that button.
Chilling your glasses in the freezer for 10–15 minutes beforehand slows the warming process and keeps the shake colder against the glass, buying you an extra minute or two of peak texture. It's the kind of detail that separates a good shake from a great one.
Putting It All Together at the Grill 'N Shake Table
The next time you're setting up a backyard cookout and the burgers are hitting the grill, think of the shake station with the same intentionality you bring to the fire. Temper your ice cream. Chill your glasses. Respect your ratios. Blend short and purposeful. The chemistry is already working in your favor — your job is just not to get in its way.
Great shakes and great grilling have more in common than you'd think: both reward patience, preparation, and a little bit of science. Now go make something worth raising a cold glass to.