Scoop Smarter: Why the Ice Cream You Pick Makes or Breaks Your Milkshake
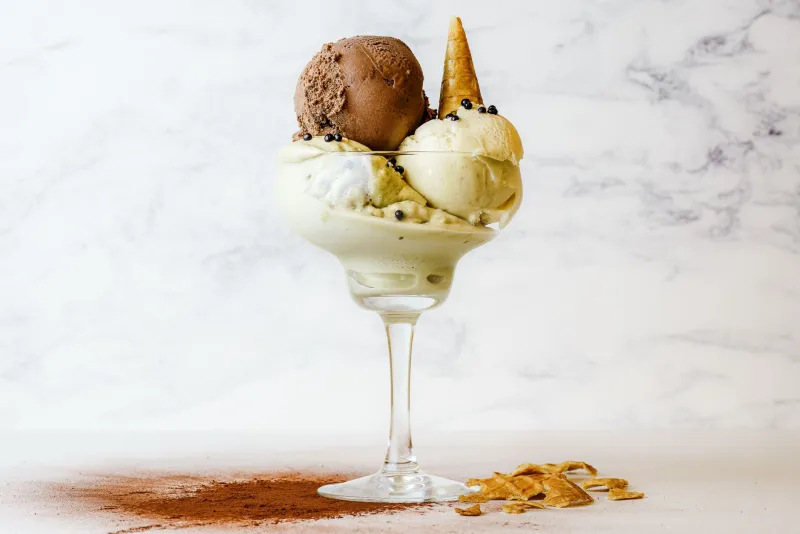
Here at Grill 'N Shake, we spend a lot of time thinking about two things: the perfect sear and the perfect shake. And while everyone obsesses over grill temps and burger thickness, the milkshake side of the equation gets surprisingly little respect. Specifically, nobody talks about the single ingredient that determines whether your shake is thick, creamy, and spoon-worthy — or watery, flat, and embarrassing to serve.
We're talking about ice cream. Not just any ice cream. The right ice cream.
Before you roll your eyes and reach for whatever's on sale at the grocery store, hear us out. There's actual science here, and once you get it, you'll never look at a tub of frozen dairy the same way again.
What's Actually Inside That Carton
At its core, ice cream is a carefully balanced mixture of fat, water, sugar, and air. The ratio of those four things determines everything — texture, flavor intensity, how well it holds up in a blender, and critically, how fast it melts.
The USDA requires that products labeled "ice cream" contain at least 10% milkfat. Premium brands like Häagen-Dazs and Ben & Jerry's push that number to 14–17%. Bargain brands? They often hover right at that 10% floor, and some "frozen dairy desserts" (a label worth reading carefully) don't even meet the standard ice cream threshold.
That fat content matters enormously. Higher fat means more structure. More structure means the ice cream holds its form longer, resists melting faster, and blends into something thick and cohesive rather than separating into a greasy liquid the second your blender stops spinning.
The Air Problem Nobody Talks About
There's another culprit hiding in cheap ice cream: overrun. Overrun is the industry term for how much air gets churned into the mix during production. Premium ice cream has low overrun — sometimes as little as 20%. Budget brands can have overrun north of 100%, meaning half of what you're scooping is literally air.
When you blend high-overrun ice cream, those air pockets collapse almost instantly. What looked like a full scoop becomes a fraction of the volume you expected, and you're left with a thin, watery drink instead of a proper milkshake. You didn't do anything wrong — you just started with a product that was mostly air to begin with.
This is why shakes made with premium ice cream taste richer even when you use the same amount. You're actually getting more dairy per scoop.
Why Your Shake Turned Into Soup (And What to Do About It)
So you followed a recipe, blended everything up, and ended up with something that looks more like a glass of chocolate milk than a milkshake. Here's how to troubleshoot and rescue it.
Problem: Too much liquid. Milk is necessary for blending, but it's also the fastest route to a soupy shake. If your recipe calls for more than ¼ cup of milk per two large scoops of ice cream, you're already at risk. Cut back on the milk and let the ice cream do the heavy lifting.
Fix: Refreeze and re-blend. Pour your soupy shake into a freezer-safe container and let it firm up for 15–20 minutes. Then re-blend with one additional scoop of ice cream and no extra liquid. The partial refreeze gives the mixture something solid to work with.
Problem: Warm ingredients. If your blender jar was sitting in a hot kitchen, or your add-ins (peanut butter, syrups, fruit) were at room temperature, they raised the overall temperature of the blend before you even started. Ice cream melts faster than you'd think.
Fix: Pre-chill everything. Stick your blender jar in the freezer for 10 minutes before you use it. Keep your mix-ins in the fridge. Blend fast and serve immediately.
Problem: You over-blended. Blenders generate heat through friction. The longer you run it, the warmer your shake gets. Most milkshakes only need 20–30 seconds of blending — enough to incorporate everything without turning it into a warm smoothie.
Fix: Pulse, don't puree. Use short bursts instead of letting the blender run continuously. Stop when the mixture is just smooth. A few small lumps of ice cream are infinitely better than a fully liquefied shake.
The Best Ice Cream Brands for Home Shakes (Without Breaking the Bank)
You don't need to spend $9 on a pint to make a great milkshake. Here's a practical breakdown by budget:
Premium Tier (worth every penny for special occasions):
- Häagen-Dazs — High fat content, low overrun, and incredibly dense. A little goes a long way in a shake.
- Ben & Jerry's — Slightly lower fat than Häagen-Dazs but loaded with mix-ins that add texture and flavor complexity.
Mid-Range Sweet Spot (the everyday workhorse):
- Tillamook — Made in Oregon, widely available, and punches well above its price point. Their vanilla is genuinely excellent for shakes.
- Breyers Natural Vanilla — One of the cleaner ingredient lists in the mid-range category. Simple, real, and blends beautifully.
- Turkey Hill — Underrated and affordable. Their all-natural line has solid fat content and a clean dairy flavor.
Avoid for Shakes:
- Generic store-brand "frozen dairy desserts" — the labeling is a red flag. These products substitute vegetable oils for milkfat, which changes the melt profile entirely and often produces a greasy, thin result.
The Grill 'N Shake Takeaway
Think about it this way: you wouldn't throw a $4 mystery-meat patty on the grill and expect it to taste like a smash burger. The same logic applies to your shakes. The quality of your starting ingredient determines your ceiling.
Spend a dollar or two more on a tub of Tillamook or Breyers, chill your blender jar, go easy on the milk, and blend fast. That's the whole formula. The difference between a shake that impresses your cookout guests and one that gets quietly left on the table? It starts at the freezer aisle, long before you fire up the blender.
Where the grill meets the chill, every detail counts — and this one's easier to get right than you think.