Backyard Goals: How to Build the Ultimate Grill-and-Shake Outdoor Setup
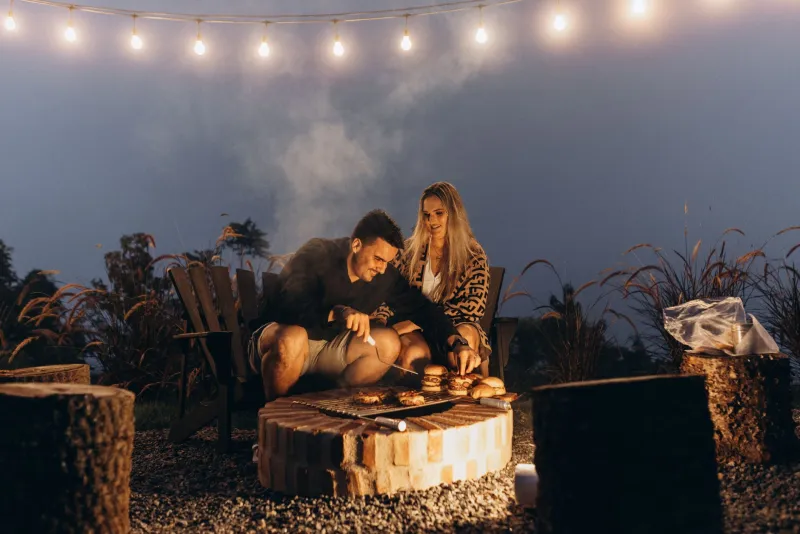
Let's be honest — most backyard grilling setups are a little improvised. A grill pushed against the fence, a folding table holding the condiments, maybe a cooler doing double duty as a seat. It gets the job done, but it doesn't exactly inspire greatness.
Now imagine something different: a dedicated outdoor kitchen where your smoker and your shake station coexist in harmony, where everything has a place, and where firing up a weekend cookout feels less like a scramble and more like running a really fun restaurant. That's the setup we're talking about today — and it's more achievable than you might think, regardless of your budget or your square footage.
Start With the Layout: Zones Are Everything
The first rule of any functional outdoor kitchen is zoning. Just like a professional kitchen separates prep, cooking, and plating areas, your backyard setup should have distinct zones for different tasks. For a grill-and-shake setup specifically, you're thinking about three core areas:
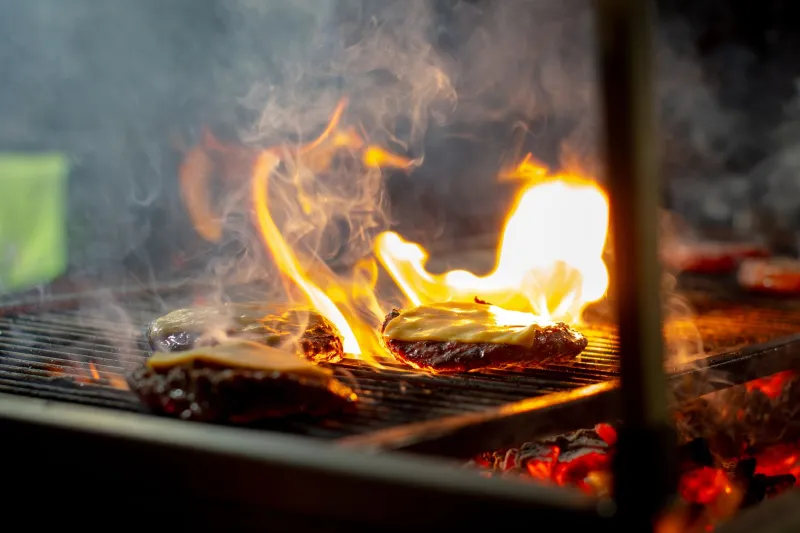
The Heat Zone is where your grill, smoker, or both live. This needs to be positioned away from any structures, with good airflow and ideally some wind protection. If you're working with a gas grill, proximity to a natural gas line is a bonus. Charcoal and offset smoker folks have a little more flexibility.
The Shake Station is your cold-side workspace. This is where your blender, ice cream storage, toppings, and glasses live. It needs access to power (for the blender), ideally a nearby outlet or a weatherproof extension solution, and a surface that's easy to wipe clean. A small outdoor refrigerator or a chest freezer nearby is a game-changer here.
The Prep and Serve Zone bridges the two. This is counter space for marinating, slicing, plating, and staging food before it hits the table. A large outdoor prep table, a butcher block cart, or even a repurposed kitchen island with weather-treated surfaces all work well here.
Keeping these zones logical — grill on one end, shake station on the other, prep in the middle — means you're not constantly crossing traffic lines when things get busy.
Budget Builds: Getting There Without Breaking the Bank
You don't need a $20,000 outdoor kitchen renovation to create something genuinely functional. Here's how to build a capable grill-and-shake setup at three different price points:
Under $500: The Smart Starter
At this level, you're working with what you have and adding strategically. A mid-range charcoal or propane grill ($150–$250), a sturdy folding prep table, a weatherproof storage bin for supplies, and a quality countertop blender rated for ice cream (the Ninja Professional and the Vitamix 5200 are both solid picks) gets you further than you'd expect. Add a small soft-sided cooler for ice cream and a power strip with a weather cover for the blender, and you've got a legit two-zone setup.
$500–$2,000: The Committed Backyard Cook
This is the range where things get genuinely exciting. A dedicated pellet smoker or a quality kamado-style grill anchors the heat zone. On the shake side, a compact outdoor-rated mini fridge ($150–$300) keeps ice cream and shake ingredients at the right temperature without running inside constantly. Add a modular outdoor kitchen cart system — brands like Sunstone, Blackstone, and Cuisinart all make solid options — and you've got a cohesive, organized setup that looks intentional.
$2,000 and Up: The Full Experience
Here's where permanent countertops, built-in grills, outdoor refrigerator drawers, and dedicated shake bars with bar stools become realistic. Concrete countertops, tile work, and string lights overhead turn your backyard into a destination. If you're going this route, consider hiring a landscape contractor to help with layout, especially if you're running gas lines or adding electrical outlets.
The Shake Bar: Details That Make a Difference
The shake station is often an afterthought in outdoor kitchen planning, but it deserves real attention. A few upgrades that pay off:
A dedicated outdoor blender outlet. A weatherproof GFCI outlet installed near your shake station is worth every penny of the electrician's fee. Running extension cords across a patio is a trip hazard and looks sloppy.
A topping rail. Think of the metal insert pans used at ice cream shops. A simple hotel pan insert setup on your counter gives you organized, accessible spots for crushed cookies, caramel sauce, fruit, whipped cream, and whatever else you're working with.
A drip tray or easy-clean surface. Shake-making gets messy. A surface you can wipe down quickly — sealed concrete, tile, or a food-safe stainless steel insert — saves a lot of cleanup frustration.
Insulated shake cups. If you're serving shakes alongside hot food, insulated stainless steel cups keep things cold while the grill is cranking out heat nearby.
Seasonal Storage and Year-Round Maintenance
One of the biggest reasons outdoor kitchens get neglected is poor planning for the off-season. Here's how to keep your setup in shape through every season:
Cover everything that isn't built-in. Quality grill covers and fitted covers for any freestanding furniture or equipment are non-negotiable. UV rays, rain, and frost will degrade surfaces and electronics faster than you'd expect without protection.
Drain and store your blender properly. If you're in a region that sees hard freezes, bring your blender motor unit inside for the winter. The jar can usually stay if it's emptied and dry, but the motor is too expensive to risk.
Season your grates before winter storage. A light coat of cooking oil on cast iron grates before you cover your grill for the season prevents rust and keeps them ready to go when spring arrives.
Deep clean the shake station before storing. Any sticky residue from syrups or ice cream left over the winter becomes a real problem come spring. A thorough wipe-down with a food-safe cleaner before covering everything up is worth the 20 minutes.
Making It Instagram-Worthy (Without Trying Too Hard)
The most photogenic outdoor kitchens share a few common traits: consistent materials, good lighting, and thoughtful small details. A few easy wins:
- String café lights above the cooking and seating area add warmth and make evening cookouts feel festive.
- Matching serving ware — even something as simple as consistent cups and plates — makes a setup look more intentional.
- A chalkboard menu sign listing the day's grill offerings and shake flavors is a crowd-pleaser and genuinely useful.
- Fresh herbs in pots near the prep station look great and actually get used.
At the end of the day, the best outdoor kitchen is the one you actually use. Start with what makes your cookouts easier and more enjoyable, build from there, and don't stress about perfection. The smoke, the shakes, and the good company will do the rest.