Shake SOS: Quick Fixes for Every Milkshake Disaster Before You Dump It Down the Drain
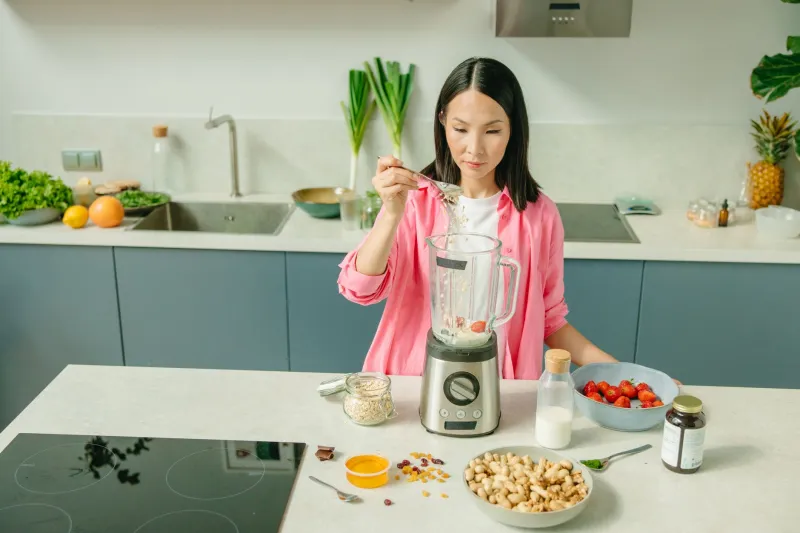
You've got burgers resting on the cutting board, smoke still curling off the grill, and a crowd of hungry people ready to dig in. The only thing standing between you and the perfect cookout moment is the milkshake situation unfolding in your blender. It's too thin. Or it's weirdly grainy. Or it separated into something that looks vaguely unsettling.
Take a breath. Step away from the sink. Most milkshake problems have a fix, and we're walking you through every common disaster — what caused it, how to rescue it right now, and how to keep it from happening again the next time you're feeding a crowd.
The Watery Shake: When It's More Smoothie Than Sundae
This is the most common complaint, and it almost always comes down to one of three culprits: not enough ice cream, ice cream that was too warm before blending, or too much liquid added too fast.
Here's the fix: Stop blending and add more ice cream — at least one generous scoop — then blend again in short pulses rather than one long run. If you're out of ice cream, a handful of ice cubes can thicken things up in a pinch, though it will dilute the flavor slightly. A better emergency option? A tablespoon or two of cream cheese or full-fat Greek yogurt. Both add body and a subtle tang that actually plays really well against sweet mix-ins like caramel or fruit.
Why does this happen in the first place? Ice cream that's been sitting out starts to melt before it ever hits the blender. That extra liquid throws off the ratio, and once you've added milk on top of that, you're basically making a very cold, very sweet soup. Going forward, pull your ice cream from the freezer no more than five minutes before blending, and always add your liquid last, a splash at a time.
The Separated Shake: When Layers Form and It Looks Broken
You made the shake, set it on the counter for two minutes to grab glasses, and now there's a weird liquid layer pooling at the bottom. Congratulations — you've witnessed emulsion breakdown in real time.
Milkshakes are essentially a temporary emulsion, meaning fat and water molecules are holding hands just long enough for you to drink them. Heat, time, and aggressive blending can all break that bond. The quick fix is simple: re-blend for 10 to 15 seconds. That's usually enough to bring everything back together. If it still looks off, add a small scoop of ice cream and blend again.
For future batches, avoid over-blending. It generates heat through friction, which warms the mixture just enough to start the separation process before the shake even hits the glass. Blend until smooth, then stop — usually 20 to 30 seconds max for a standard two-scoop shake.
The Grainy or Curdled Shake: When the Texture Gets Weird
This one tends to freak people out the most because it looks like something went seriously wrong. Grainy texture usually means one of two things: you added an acidic ingredient (like fresh citrus juice or certain fruit purees) directly to dairy, or you used low-fat milk that broke down under blending heat.
If the shake is grainy but still tastes fine, try blending in a tablespoon of heavy cream. The higher fat content can help smooth things out. If it's truly curdled — chunky and unpleasant — unfortunately that batch is a loss. But here's the thing: you can repurpose it. Strain out the liquid, and what you're left with is essentially a flavored, slightly sweet soft cheese. Weird? Yes. Delicious on grilled toast with a drizzle of honey? Absolutely.
To prevent this in the future, always add acidic ingredients gradually and blend them with the ice cream before introducing any milk or cream. The fat in the ice cream acts as a buffer and dramatically reduces the risk of curdling.
Clumpy Mix-Ins: The Cookie Chunk Problem
You tossed in a handful of Oreos, some brownie chunks, or a scoop of peanut butter chips, and now your straw is completely useless. Everything clumped together in one giant mass, and the rest of the shake is basically flavorless.
The fix depends on what clumped. For solid mix-ins like cookies or candy, re-blend briefly — five to ten seconds — to break them up without completely pulverizing them. If you want visible chunks (and honestly, you should), add them after blending the base and fold them in with a long spoon instead of running the blender again.
For sticky add-ins like peanut butter or Nutella, the problem is usually that you added them cold and solid. Warm them in the microwave for 15 seconds first so they incorporate smoothly. Same goes for caramel sauce — cold caramel seizes up the moment it hits frozen ice cream.
The Flavor Flat-Line: When It Tastes Like Nothing
Sometimes the shake looks perfect but tastes underwhelming — like sweetened milk with a vague hint of whatever you were going for. This is a seasoning problem, and yes, milkshakes need seasoning just like your burgers do.
The fastest fix: a pinch of salt. Seriously. Salt amplifies sweetness and rounds out flavors in a way that sugar alone can't. Add a small pinch, blend for five seconds, and taste again. You'll be surprised. A tiny splash of vanilla extract works similarly — even if your shake is already vanilla-based, a little extra goes a long way.
If the flavor is there but muted, the issue might be temperature. Very cold mixtures suppress flavor perception. Let the shake sit for 60 seconds before tasting, or pull your ice cream slightly earlier next time to let it soften just a touch before blending.
The Foam Overflow: When Your Blender Becomes a Volcano
This one's less about the shake quality and more about the chaos it creates — especially mid-cookout when you've got a lot going on. Over-filling the blender and blending too fast causes foam to push up and over the lid. The fix in the moment is obvious: turn it off, remove some liquid, and blend in smaller batches.
But the longer-term lesson is about technique. Always start your blender on low and gradually increase speed. This gives the ingredients time to combine before air gets whipped in aggressively. Fill the blender no more than two-thirds full, and if you're making shakes for a group, do multiple smaller batches rather than one massive one.
The Bigger Picture: Why Understanding the "Why" Matters
Here's the thing about milkshake troubleshooting — every fix gets easier once you understand the basic science behind what's happening. Fat, water, temperature, and acidity are all in constant negotiation inside your blender. When one gets out of balance, the shake suffers. But knowing that means you're never truly starting from zero.
At Grill 'N Shake, we believe the best cookouts are the ones where everything comes together — the smoke, the sear, and yes, the shake. And a little know-how in the kitchen (or backyard, or apartment balcony) means fewer disasters and more moments worth savoring. So next time something goes sideways in the blender, don't panic. You've got the tools to fix it.